How to paint any room, without the pain
For the past few days I have been attempting to decorate our conservatory, having recently replaced the thermally inefficient roof with a real one. It has not gone swimmingly.
As regular readers may be aware, DIY and I are not bosom bedfellows. Indeed, not being naturally gifted in the practical skills required for basic home maintenance means that most of my DIY attempts end in outbursts of extreme foul language.
The prospect of decorating a whole room, complete with newly plastered ceiling and walls – due to our inability to find a qualified decorator with less than a six week lead time – was therefore not one I gleefully looked forward to.
Nevertheless, I accepted the challenge and headed to B&Q to stock up on supplies.
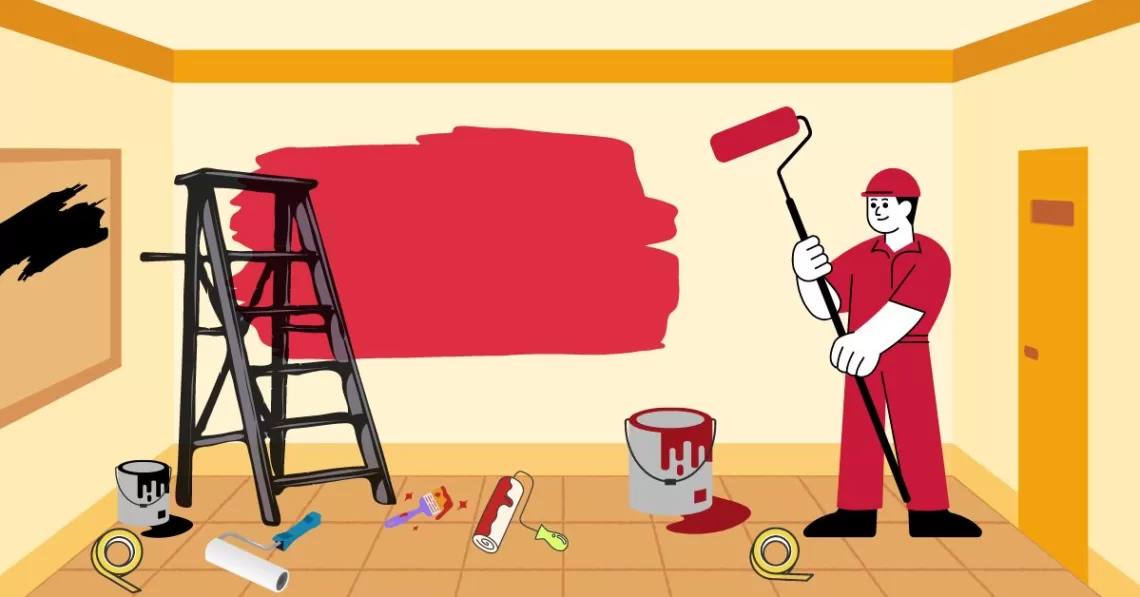
Now, as anyone who has ever decorated any room knows, choosing paint is a minefield. Colour choice is challenging enough, but compound this with room specific paint, primers, undercoats, matt, gloss and varying levels of sheen, and you can wave goodbye to hours of your life.
I’ve also never felt more aware of imposter syndrome than when I’m browsing DIY equipment in B&Q. Glance around and you will find yourself surrounded by people, usually men, with pencils tucked behind their ears, oozing DIY confidence. I, meanwhile, feel like a vicar at an orgy.
“You need to put a mist coat on that mate!”
…were allegedly helpful words of advice from a paint splattered builder as he overheard my wife and I debating the cost of undercoats – all while the kids played lightsabres with the extendable roller poles I’d just put in the trolley.
So, how to paint any room without the pain? Here are my top five tips…
Tip 1: Ask a pro
Whenever I’m faced with a lengthy menu in a restaurant, I am guaranteed to choose the worst or smallest dish on offer and to spend the entire evening wishing I had chosen something else. The same applies in DIY stores.
To avoid making the paint equivalent of a disappointing Udon noodle soup, my wife and I therefore called in a couple of professional decorators to get their take on the requirements. Fully anticipating that we would eventually hire one of these brush wizards, we quizzed them on the best paint choices for the room.
After noting down their recommendations for the best new plaster undercoat – Dulux Undercoat and Primer as it turns out – we then found out that they were booked up more than Beyonce, so were left with no choice but to take their free advice and do it all ourselves.
But painting requires more than just paint, which leads me nicely to tip two.
Tip 2: Tape, tape and more tape
Having dug out the dustsheets, covered everything that needed covering and sanded down all the rough spots on the new plaster, it was time to tape.
Naively, I had bought a single roll of Frogtape for the project, anticipating that it would suffice for the room. However, four rolls later, I can now safely say that I severely underestimated the amount of taping required.
Like a granny wrapping Christmas presents, I found myself unrolling miles of tape as I had to cover the edges of everything, remove it all and retape it for each coat of paint. And, when you’re looking at an undercoat and at least two coats on everything, you end up requiring enough tape to reach the moon.
So, don’t scrimp on the sticky stuff, and go for proper decorators’ tape rather than masking tape as it does make for sharper lines, if you’re anal about that kind of thing.
Tip 3: Roll on
Paint rollers are like the Tardis of painting paraphernalia, they absorb ten times more paint than they manage to leave behind on a wall. Nevertheless, they are essential when tackling walls and ceilings and give you at least a vague chance of creating a consistently coloured finish, without annoying paint brush marks.
However, using rollers on a ceiling – complete with the aforementioned lightsabre poles – also requires a degree of upper body strength and an acceptance of guaranteed neck ache. Tackling our ceiling, as I did, while also suffering from a dodgy elbow, unfortunately also requires paracetamol and the liberal application of Voltarol.
One further complication with painting a ceiling white, is that it’s white. This means that rolling a second or third coat of white paint, on top of white paint, can see you contorting into odd shapes as you attempt to use the available light to determine where you’ve painted.
But this tip is less to do with using the rollers than with storing them between coats. My brother told me of a brilliant hack to stop them from drying out, even overnight. Simply place them in an airtight plastic bag, squeeze out all the air and tie it tightly closed. I took this one step further and utilised a spare vacuum pack bag, meaning that my brush and roller washing was thankfully kept to an absolute minimum.
Tip 4: Spin your rollers clean
Talking of roller cleaning, there are few things more tedious than attempting to clean paint brushes and rollers. For some reason, even after running them under a tap for hours, paint continues to flow from them, like some kind of never ending stream of frustration.
Fed up with spending longer trying to get the paint off the rollers than I ever did putting paint on them, I found that angling a hose pipe jet, so that it strikes the edge of the roller, can cause it to spin at an insane speed, spraying the surrounding streets with a diluted shower of paint.
This is a far quicker way of cleaning a roller and, if inadvertently painting the side of your house isn’t on your plans, you can avoid the spray fallout by placing the whole thing inside a large container, such as an old bin.
As for brushes, I’ve yet to discover a satisfying hack for ridding them of their paint, so unfortunately the tap remains the only way to clean them.
But once your walls and ceilings are done….
Tip 5: Enjoy the smugness
The sad thing with painting, is that if you’ve done it well, no one will really notice. Your guests will just walk into the room, subconsciously register that it looks a bit different and then start a conversation about something utterly irrelevant. Your job, at this point, is to interject and remind them that you painted every inch of the room, with undercoat and two coats of paint. You will stress how long it took, how much hard work it was and how pleased you are with the end result. You’ll then wait for a suitably impressed response.
If it doesn’t come, your relationship with the aforementioned guests might be over. Smugness is the right of everyone who has ever rolled till their arms ached or unravelled a marathon’s worth of decorators’ tape in two days. You deserve the chance to brag, to bask in the glory of a job well done and to tell everyone about it.
Once you do finally sit down, with a glass of wine, however, there is one thing I can guarantee.
Upon looking around the now tidy room, with all its furniture back in place, ornaments and electricals in situ – your children playing happily on their devices and dinner cooking in the oven – it will be at this relaxed moment in time, that you will notice the imperfect patch or spot on one of the walls.
Every synapse in your body will be screaming at you to grab a brush and touch it up, to correct what is a glaring, horrible, unsightly and obvious flaw in the otherwise perfect room. However, you won’t. The ‘can’t be bothered’ side of your personality will have taken over by now and for the rest of your time in that house, the imperfect patch will remain.
As for our conservatory, we’re not quite there yet, I have one wall left to do. So, dear reader, I will end this here and release my vacuum packed roller from its plastic prison in order to finish the job. Wish me luck.


You May Also Like

Wake up to the dangers of a faulty carbon monoxide monitor

What is wrong with parents?
